We can create elegant DIY table centerpieces by choosing materials like smooth glass or polished wood paired with soft fabrics for texture and balance. Simple flower arrangements using bold blooms and textured greenery bring lush yet airy beauty. Adding candles of varied sizes inside glass holders warms the space, while natural elements like eucalyptus or pinecones add chic softness. With these tips, we’ll craft centerpieces that match any event’s style perfectly and discover even more ways to elevate your décor.
Quick Tips
- Choose a neutral and metallic color palette for timeless, elegant centerpieces that complement any occasion or space.
- Use fresh flowers like orchids or peonies, combined with textured greenery such as eucalyptus, to create simple yet luxurious arrangements.
- DIY vases by decorating glass jars with twine, ribbons, or painted cans for budget-friendly, stylish holders.
- Incorporate candles in varied sizes inside glass containers to add warmth and depth while enhancing centerpiece glow.
- Add natural elements like pinecones, succulents, or air plants for a chic, inviting table décor with organic charm.
How to Pick Materials for Elegant Centerpieces
Although choosing materials for elegant centerpieces might seem tricky at first, we can simplify the process by focusing on a few key elements that bring style and harmony to the table.
Start by selecting a color palette that complements your space and occasion—neutrals mixed with metallics often add a timeless touch.
Consider textures too; combining smooth glass or polished wood with soft fabrics creates a balanced look.
We should also think about scale, picking items that fit the table without overwhelming it.
For tiered displays, ensure adequate tier spacing of 4 to 4.8 inches to accommodate varying heights of decorative elements and maintain visual harmony.
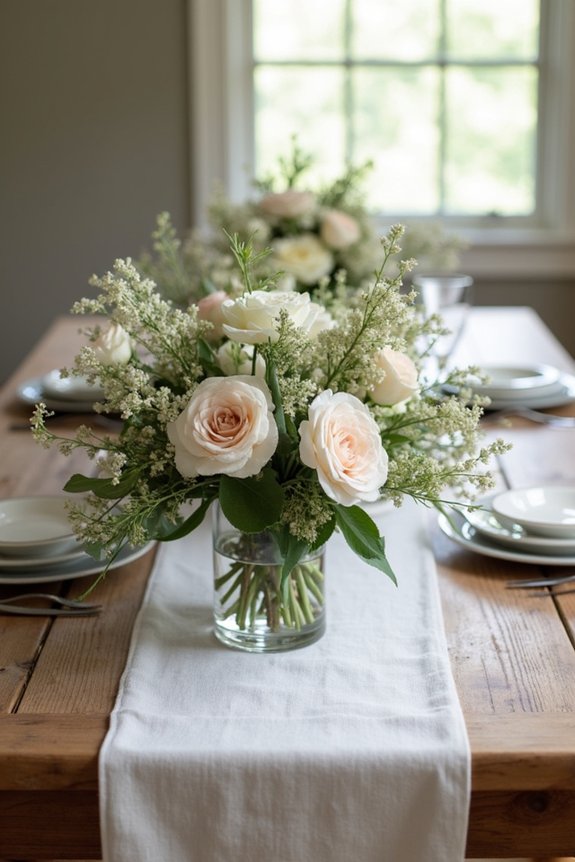
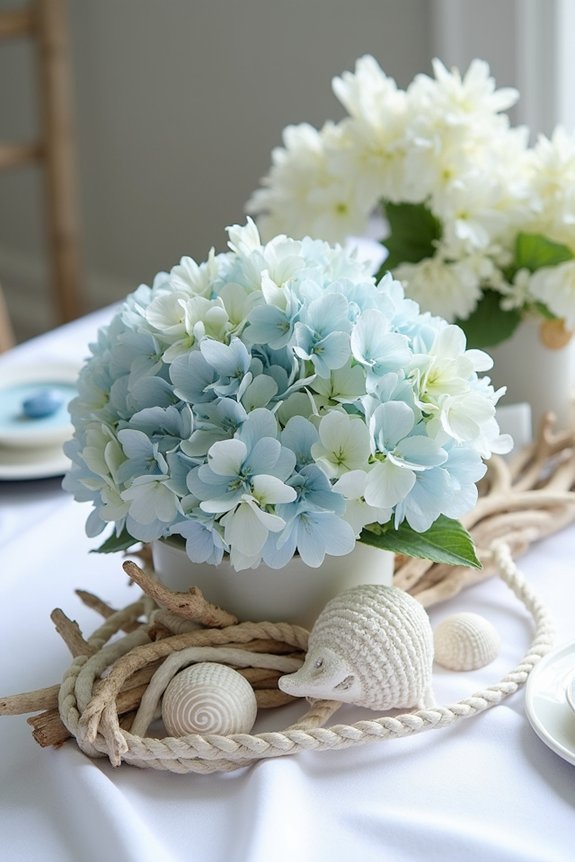
Simple Flower Arrangements That Look Luxurious
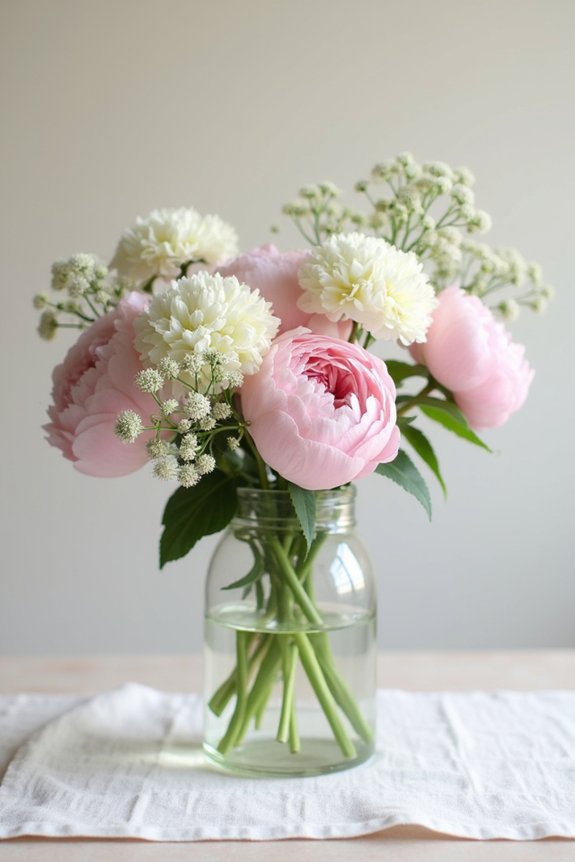
When we create simple flower arrangements that look luxurious, we focus on selecting blooms that make a big impact without needing many pieces.
Choosing flowers with bold colors or unique shapes helps them stand out, like orchids, peonies, or hydrangeas. Grouping a few stems tightly emphasizes richness and elegance, while leaving some space keeps the design airy and fresh.
Adding greenery with interesting textures, such as eucalyptus or ferns, enhances the arrangement without cluttering it.
These elegant centerpiece arrangements work wonderfully for baby shower decorations that impress guests with thoughtful design details.
DIY Vases and Holders: Creative and Budget-Friendly Ideas
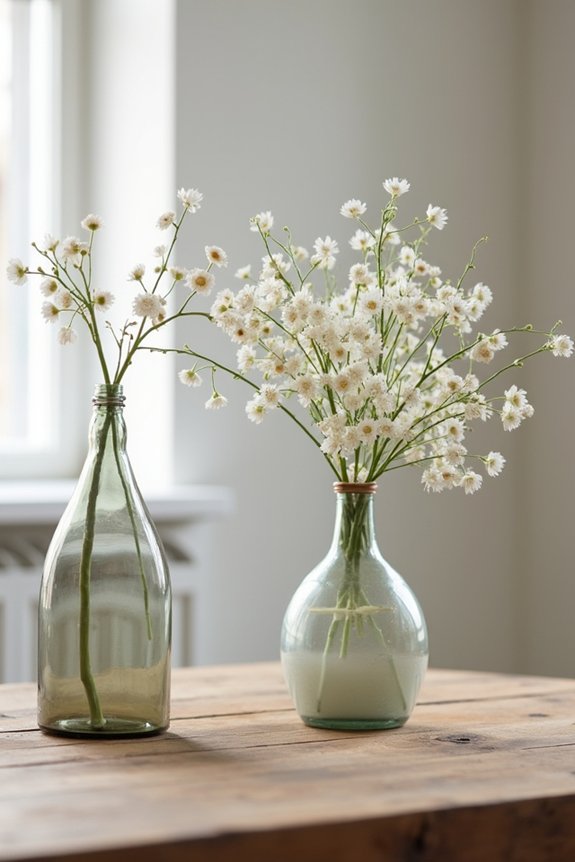
Creating DIY vases and holders opens up a world of creative possibilities that won’t stretch your budget.
We can transform simple materials into charming containers that add personality to any table.
Here are some inspiring ideas to get started:
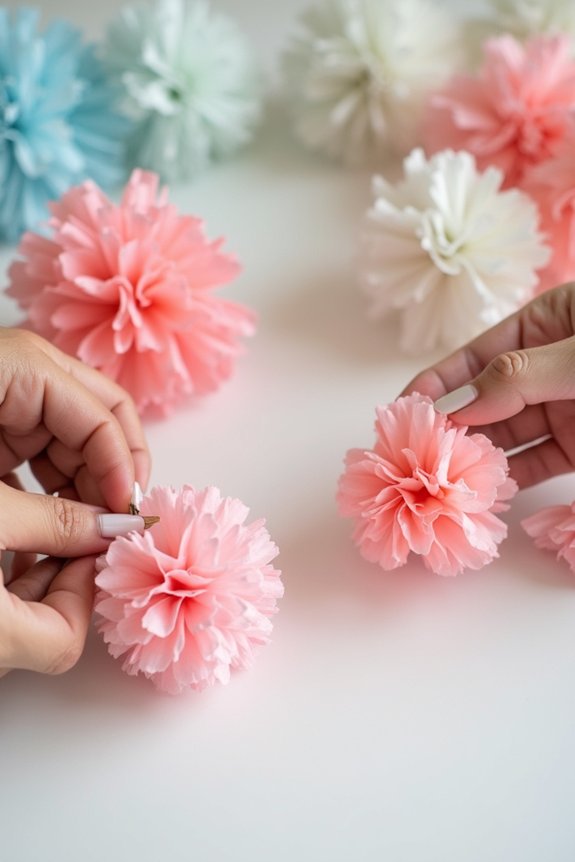
- Wrap glass jars with twine or colorful ribbons for a rustic, cozy look.
- Use painted tin cans, which add a pop of color and keep flowers fresh.
- Craft holders from folded paper or lightweight wood for unique shapes.
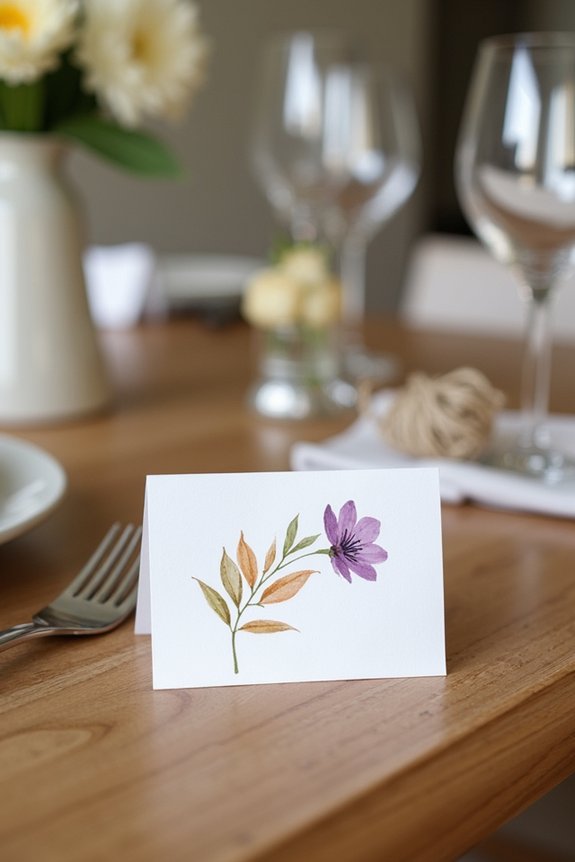
- Repurpose vintage teacups or bottles for a charming, elegant touch.
These projects brighten your centerpiece without costing a fortune. For additional inspiration, explore elegant bridal shower decorations to discover ready-made options that complement your DIY creations.
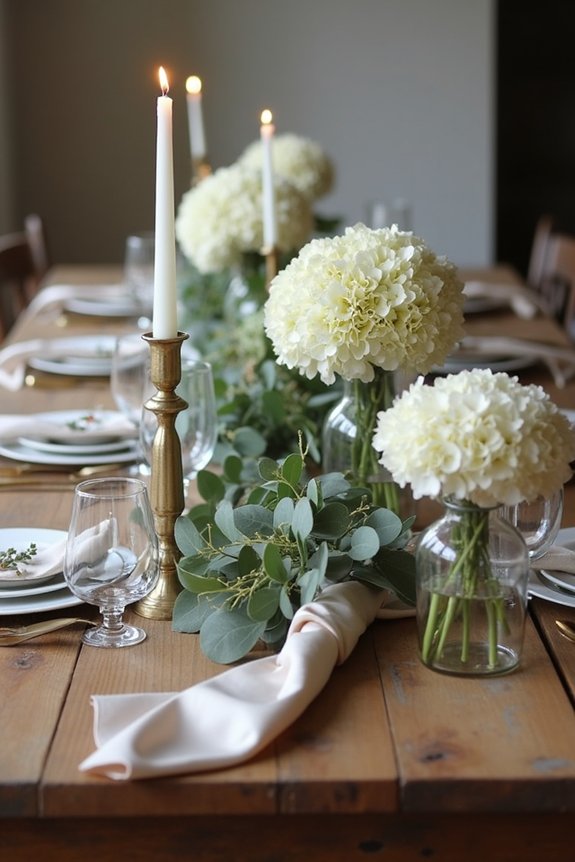
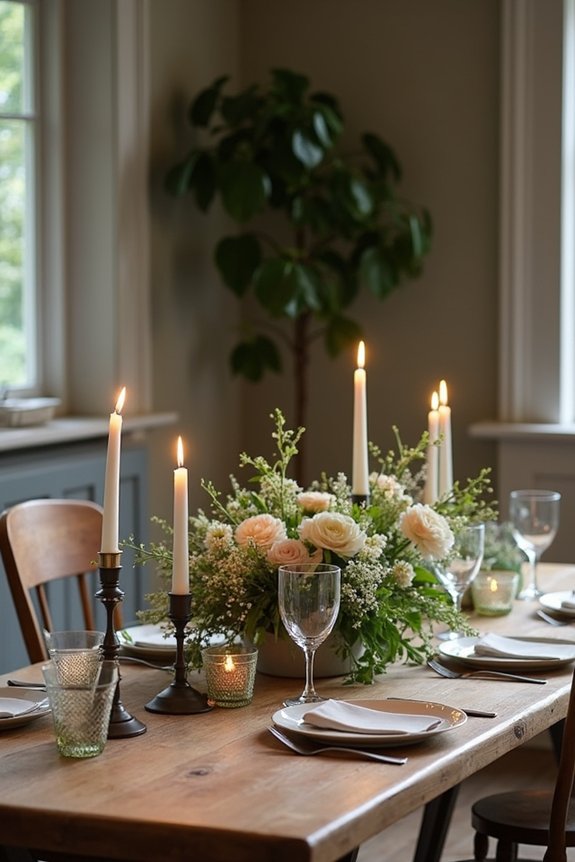
Adding Candles and Lighting to Your Centerpieces
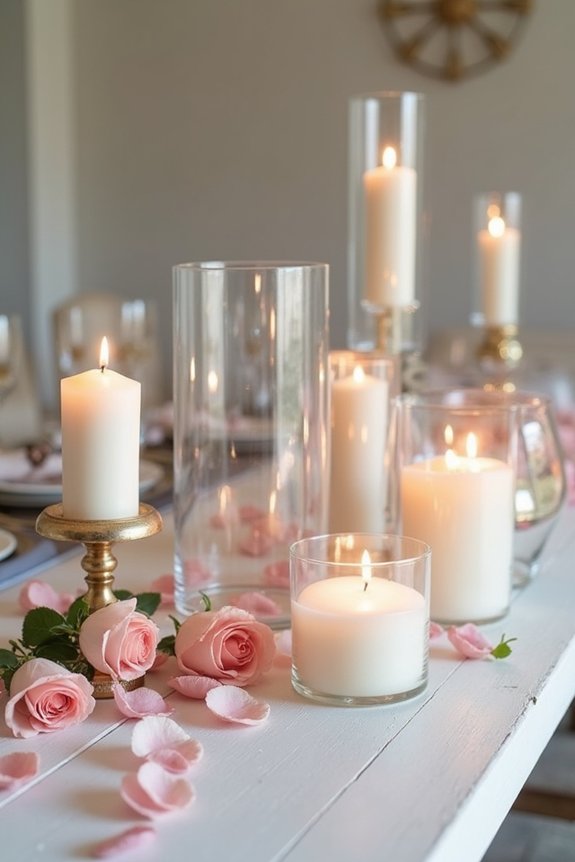
Even as we craft beautiful holders and vases, adding candles and lighting to our centerpieces can transform the entire atmosphere. Soft candlelight creates warmth, inviting everyone to gather closer.
Choosing various sizes and shapes of candles adds depth, while LED lights offer safety and versatility without sacrificing charm. We can place candles inside glass containers for elegance or surround them with reflective materials to enhance their glow.
Exploring color tones also impacts mood—warm hues soothe, and cool shades refresh. For larger events, consider taller candelabra centerpieces that offer visual impact and create stunning focal points on your table.
Thoughtfully combining these lighting elements not only highlights our handiwork but also makes the table feel cozy and enchanting for any occasion.
Incorporating Natural Elements for a Chic Table Look
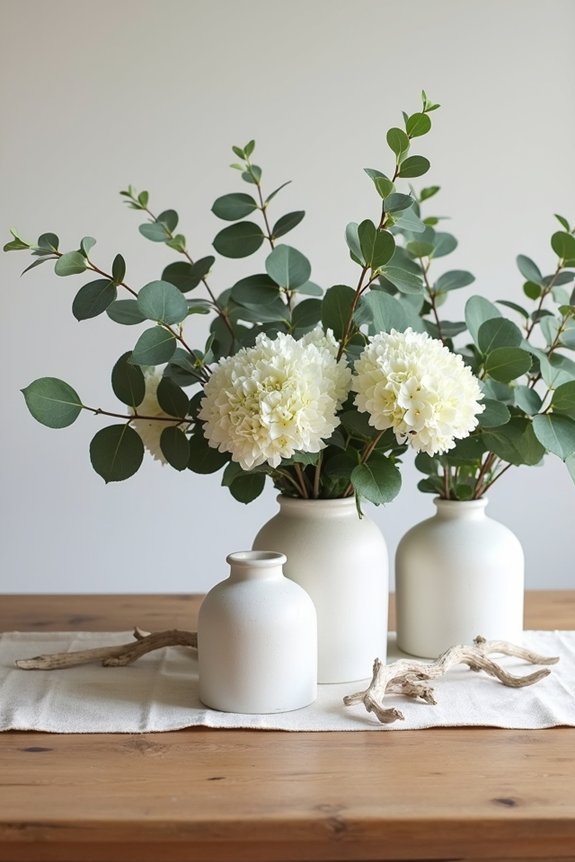
Bringing natural elements into our table centerpieces adds a fresh and timeless touch that instantly elevates any setting.
Using nature’s beauty creates warmth and charm without much effort. Here are four ways we can incorporate natural elements for a chic look:
- Use fresh greenery like eucalyptus or ferns to add soft textures and calming color.
- Incorporate seasonal flowers for pops of color and fragrance that brighten the table.
- Add pinecones, twigs, or acorns to bring an organic, rustic vibe that feels grounded.
- Place small succulents or air plants in pretty pots for a modern yet natural flair.
These ideas make any table stunning and inviting! Consider exploring garden party decorations that feature natural elements to further enhance your tablescape with professionally designed options.
Matching Your Centerpieces to Your Event Theme
When we want our table centerpieces to shine, matching them to the event theme brings everything together beautifully and creates a sense of harmony.
Start by identifying key colors, styles, and moods that define your event—whether it’s rustic, modern, or vintage. Choose materials and designs that echo these elements, like soft pastels for a romantic wedding or bold hues for a festive party.
This alignment helps your centerpieces feel like a natural part of the celebration, enhancing the overall atmosphere and making guests feel instantly connected to the theme without any confusion or distraction.
Easy Styling Hacks to Elevate Your DIY Centerpieces
Although creating DIY centerpieces might seem simple at first, there are clever styling hacks that can truly elevate their look and make them stand out.
Together, let’s explore easy ways to add charm and sophistication without much effort.
- Use varying heights—it adds depth and drama to your table.
- Incorporate natural elements like greenery or seasonal flowers for freshness.
- Add subtle lighting, such as fairy lights or candles, to create warmth.
- Mix textures, combining smooth, rough, shiny, and matte surfaces for visual interest.
These simple tips help transform basic centerpieces into eye-catching décor that feels elegant and inviting.
Frequently Asked Questions
How Early Should I Prepare Centerpieces Before the Event?
We should prepare centerpieces about one to two days before the event to guarantee freshness and avoid last-minute stress. This timing lets us make adjustments and keep everything looking elegant and perfect for the occasion.
Can I Create Centerpieces That Last for Weeks?
Yes, we can create centerpieces that last weeks by using preserved flowers, succulents, or artificial elements. We’ll focus on durability and low maintenance, ensuring the centerpiece stays fresh and elegant throughout that time.
What Are Eco-Friendly Alternatives for Centerpiece Materials?
Like knights favoring steel swords, we choose eco-friendly materials like dried flowers, reclaimed wood, or biodegradable moss. These sustainable elements create lasting beauty while caring for the planet—we can’t ignore our duty to tread lightly, right?
How Do I Transport Fragile Centerpieces Safely?
We’ll wrap fragile centerpieces in bubble wrap or soft cloth, place them in sturdy boxes with cushioning, and secure everything tightly. We’ll transport them upright and handle them gently to prevent any damage during the trip.
Are There Tips for Storing Leftover Centerpiece Supplies?
Ever wonder how to keep your supplies neat and easy to find? We recommend using clear containers with labels, separating fragile items with tissue paper, and storing everything in a cool, dry place so you’re ready for next time.